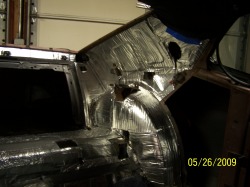
More Sound Deadening #2
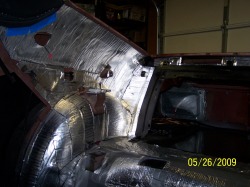
This is a pic of the otherside of inner wheel House and Sail Panel area with B-Quiet installed.
More Sound Deadening Installed
Here shows the B-Quiet installed on the rear inner wheel house and sail panel area. Not as pretty of an installation as I would have liked but when you are dealing with odd corners & rounded shapes this is the best I could do and I figured it will be hidden by the interior panels anyway.
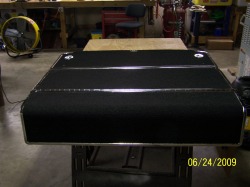
Rear Interior Quarter Panel Cover
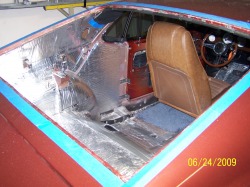
Made a sheetmetal cover for the rear interior quarter panel behind door that can be removed with screws for quarter window adjustment. Then covered it with B-Quiet sound deadner.
Sound Deadening Doors
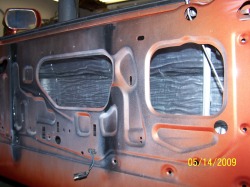
As anticipated installing the B-Quiet sound deadener in the doors was more labor intense than the roof even though I wasn't upside down doing it like the roof the doors small openings required smaller pieces and the need for long sleeved shirt to protect my arms from sharp edges. It took about 2 hours for each door but I'm slow and take alot of breaks, hey I don't punch a time clock working in my garage and I'm the boss.
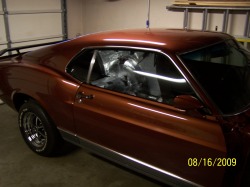
Drivers Door Glass Installed
Drivers Door Glass installed and adjusted, will water test when all glass is installed.
Sound Deadening Roof
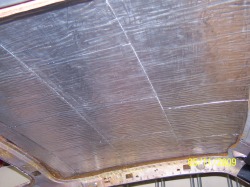
Be-Quiet sound deadner installed on underside of roof, this stuff is great quality and easy to install except don't try to install too big of pieces at a time. It is very flexible and the longer the piece the harder it is to control in cramped areas. I tried a 2' piece and what a pain, the product comes in 1' wide 50' foot rolls and I found that it is easier to cut 1' lengths so you have a 1' by 1' section just like floor tile especially working upside down. Now in the doors I may use smaller pieces and in the trunk bigger pieces. Trial and error but you don't want too much waste as this stuff is $140 a 50' rool but it is a great sound deadner, I could tell the difference just with the roof done in the interior. Headliner comes next but while I'm waiting for my headliner guy I will proceed to do the doors with the B-Quiet.
Headliner
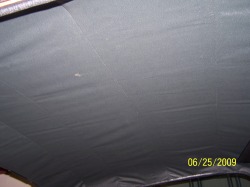
Headliner installed, a few wrinkles as expected but will work them out with a hair dryer as soon as all glass is installed.
Fold-Down Rear Seat Floor
Took the Ginger colored Fold-Down rear seat floor and disassembled it then stripped and repainted metal frame correct black and installed new carpet. New chrome trim will be installed before it goes into car as the current trim is in poor driver condition.
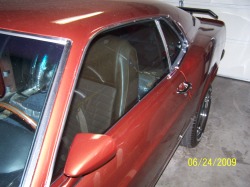
Passenger Door Glass Installed
Finally all side glass installed, I never knew there were so many adjustments to make and the time it would take to get the door glass to line up with the quarter glass and roofrail seal correctly. I will leave door panels off untill rear window is installed so I can water test all windows that way I can make final adjustments if needed.
Rear Window Louvers Installed
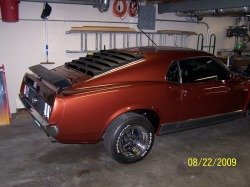
Rear window louvers installed after retapping holes thru roof, I found out that a couple threaded rivet-nuts that hold roof brackets to roof were stripped.
Interior Installation Started
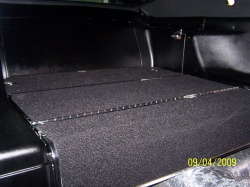
Rear folddown floor and side panels complete and installed.
Door Panels Installed
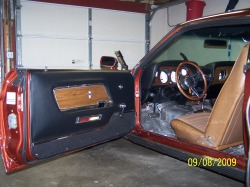
Pain in the A$$ but finally got the door panels installed, got these off ebay and they had been repaired also recovered. The only problem was the push in clips when put on the panels didn't line up with holes in aftermarket doors so I had to elongate the holes in door panels. The issue could be from either aftermarket doors or panels, whatever the reason they are installed and now I can move on to carpet,console and seats.
Carpeting Installed
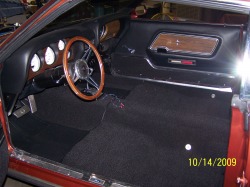
New black carpeting installed, I should have installed it before putting shifter assembly and rear interior panels in because I had to remove them to get the carpet to lay correctly. I will be replacing the chrome step plates at door openings later when I order the new 3 point seat belt harness and the interior quarter panel weatherstrips that I didn't know I needed because there were none on the car when I took it apart.
3 Point Harnesses

Installed new 3 point seatbelt / Shoulder Harnesses replacing the original 2 piece design which was a pain in the ass to use. Also installed the console, now only thing left on the interior is recovering the seats in the original comfortweave but black instead of ginger. I will be atempting this process myself so hoping for the best.
Rear Seat
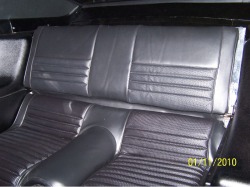
Ordered new Mach1 seat covers made by TMI, was going to recover myself then chickened out and had them done by a upholstery shop. It took him 4 hours to do both buckets and rear seats and they look great, it would have took me at least a week and who knows how they would have come out.
Interior Finished
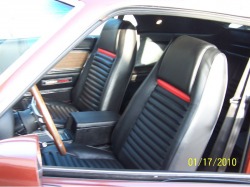
Installed the bucket seats, now the new black interior is complete. Looks much better than the Ginger that came in the car.Looks really nice with the Chestnut Metallic body color. Now the front sheet metal and the car is complete untill next winter when more upgrades will be added such as a tilt sterring column.
