Turn Signal Switch
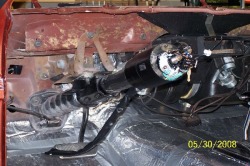
Paint steering column and install new turn signal switch
Painless Wiring
Install heater & A/C then start routing wiring for the Painless wiring kit. Would reccomend this kit for older cars, if you have a shop manual for your car with wiring diagrams along with Painless instructions and wiring is labeled as to where it goes, anyone with general electrical knowledge could wire a complete car. It is much easier when car is completely disassembled.
Trunk Wiring
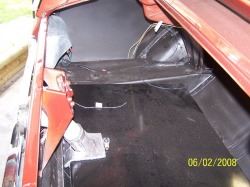
Here you can see where Painless wiring is run inside the rear driversside quarter panel over wheelwell, wiring consists of taillights, backup lights, license plate light, trunk light, sidemarker lights and gas tank sending unit.
Another shot of trunk wiring
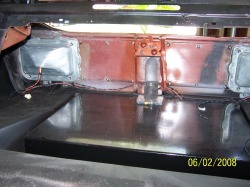
Here you can see how wiring is routed, taillight sockets are already installed on wiring from Painless as well as sidemarker sockets. After finishing I covered all wires in a loom made by Painless. It comes in 1/4"-1/2"-3/4" I.D. and is resistant to water,solvents and heat.also it is made out of a flexable material not plastic that can melt or crack.I would also highly reccomend this product, it's not cheap but in the long run it's worth it.
Rear Lights Complete
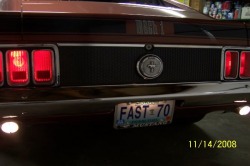
All the connections of the Painless Wiring to the rear of the car are complete and as you can see they work perfectly.
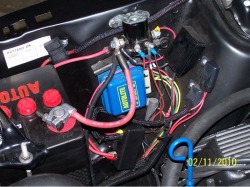
Another shot of Painless Wiring
Here you can see where the Painless fuse block mounts just to the left of your original and where you original one was they give you a plate with a hole & grommet to feed the engine and front lighting wires thru. Painless fuse block has the newer colored blade style fuses and it has a cover to protect the fuses. Notice the wires are in bundles and tagged, also each wire is stamped with it's location. You might need a magnifier to read them like I did.
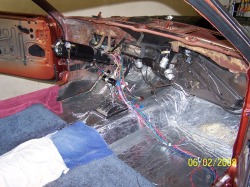
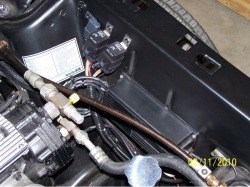
Engine & Headlights Wiring
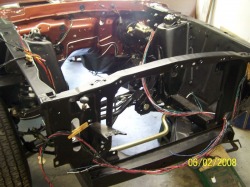
Here you can see the Painless wiring run thru firwall, along driversside fender apron, thru radiator support, across to passengerside, back thru radiator support to starter,vaoltage regulator and alternator. There are wires branching off for stop light switch, wipers & washers, sidemarkers, headlights, turn signals, fog lights and horns. Don't be afraid it looks worse than it is.
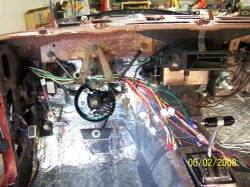
JME Gauges & Clock
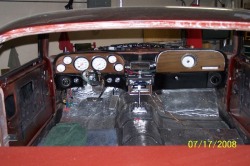
Here I have finished wiring the heater and A/C, all switches & steering column have been wired and shift selector. Now I have installed the new JME Gauges & Clock and wired them up to Painless kit. The gauges are Autometer white faced alredy mounted in the bezel as a kit from JME with wiring instructions. After seeing them installed I called JME and had the clock sent to them and rebuilt with the white face to match gauges. Looks great doesn't it. The loose wires are for the door lights & console and also the radio speakers. The shiny stuff on the floor is Heat and Sound Deadner.
Dash Pad
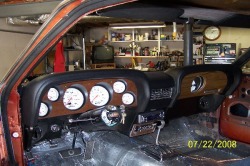
Here is a shot of the dash with the dashpad installed.
Dash Complete
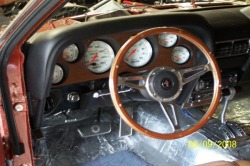
Here is the completed dash with the Shelby style Moto-Lita wheel installed on column. I got the wheel from Glaziers Mustang Barn. It was the only place that could get me the original wheel not a knockoff. I highly reccomend this Mustang Parts Dealer they are great to deal with and very knowledgeable about Mustangs as they restore them as well as sell parts.
70 Mustang 21st Century
Headlight Relays
Painless Wiring Headlight Harness
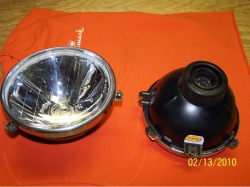
H4 Headlight Conversion Assemblies
Temporary Installation